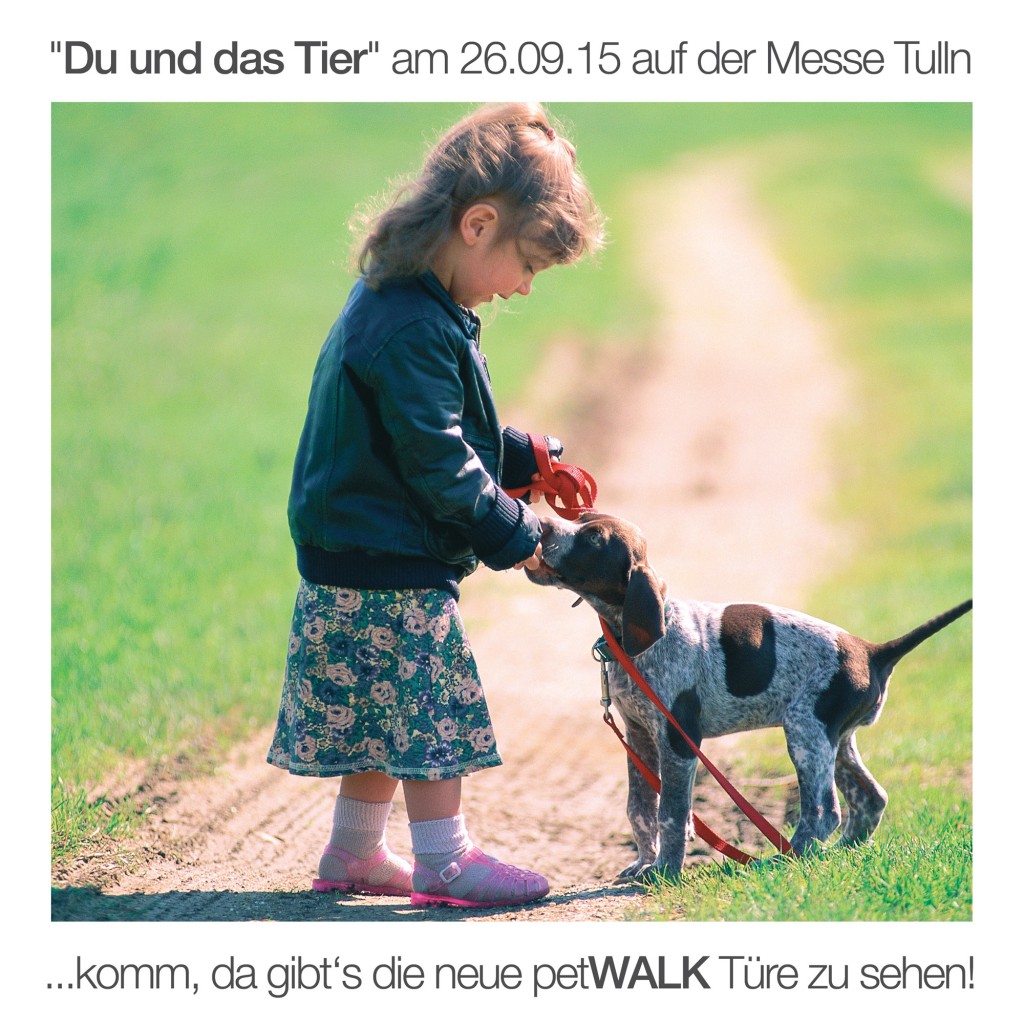
Machen Sie das Beste aus einem trüben und regnerischen Tag und besuchen Sie uns am 26.9. in Halle 3 auf der Internationale Hundeausstellung "Du und das Tier", dem größten Event für Tierfreunde und die ganze Familie in Tulln.
Neben vielen Tieren und jede Menge Spaß zeigen wir Ihnen, wie einfach Sie Freiheit für Ihre Tiere und wohlige Behaglichkeit für sich verbinden können.
Schnell Entschlossene können sich zudem 10% Messerabatt sichern!
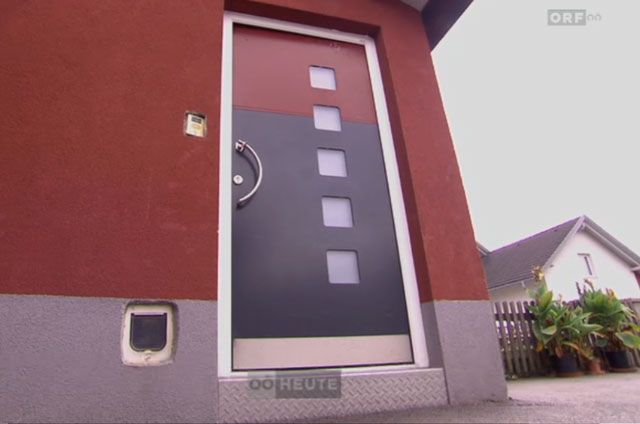
Einbruch durch Katzenklappe - Beitrag ORF Oberösterreich heute - 20150819
Wieder hat ein Einbrecher durch eine konventionelle Katzenklappe die Haustüre zu einem Wohnhaus in Grein (Bezirk Perg/OÖ) geöffnet. Er entwendete Geld aus einem Möbeltresor und richtete im Haus erheblichen Schaden an. Mit einer petWALK Türe wäre das nicht passiert.
In rare cases it can happen that the door stops responding. As with a computer, a restart will fix the problem in most cases.
The easiest way is to unplug the power supply from the wall socket and wait until the battery is discharged and the door has shut down and all lights are extinguished in the display. This might take a few hours. Then plug in the mains power on again. The door will function normally again.
The models "Super-Silent" and all doors manufactured after 1.1.2015 (serial number higher than xxx01Dxxxxxxxxxx), offer also some quicker ways:
If you own a "Large" model remove the inner cover of the door leaf. You will see a small slot on one upper corner of the door leaf and a locking bolt below it. On the model "Medium" you can access the bolts without removing the cover.
Now move the upper bolt by means of a medium-sized screwdriver gently but with pressure against the resistance of the motor. You will hear a slight noise from the engine while pushing the bolts. This is normal and will not harm the door.
As soon as you open the door panel slightly, it should trigger the burglary alarm. The display should show "A00" and an alarm sound can be heard. Hold the door leaf until you confirmed the error by pressing OK on the remote control. After that, the door should function normally again.
Here's a small video showing these steps:
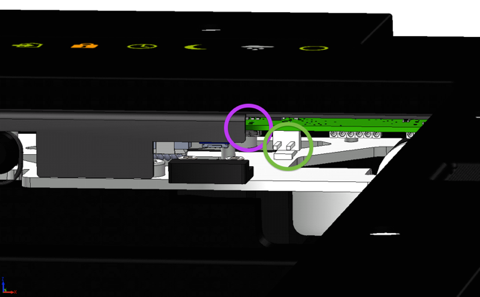
If no alarm is triggered, you can remove the white battery connector with the red and black wires and unplug the power supply. When using an in-wall power supply you can switch off the fuse for a short time. Plug both in again.
There's also a small reset button between the cover and the white battery connector in the area right above the white component, which protrudes slightly from the shroud. Here you could carefully press the reset button with a pen or similar. After a successful reboot the red circle appears in the display. After a rattling noise the pet door is initialized and ready for operation.
Detached house (Victoria, AU)
Location: Kitchen/Dining/Lounge & Laundry Room
Mounting Type: Wall- and Door-installation
Requirements: Flexible and safe usage
Customer Comment:
"The intention was to have two pet doors at the rear of the house, one exiting through the laundry door to provide the pets with access to the garden during the day. The second door exiting from the Kitchen/Dining/Lounge area allows the pets onto the back deck without access to the garden. A barrier is installed to separate the rear deck in two areas, which will not doubt need refinement to ensure the cats cannot jump over it. This allows free use of the deck for both us and the pets without worrying whether they can escape at night, particularly the cats who can jump the fences.
The house is built on a large 2200m2 block allowing plenty of room for our animals to roam and play and is near a lake and wetlands where our dogs will get plenty of walks.
Hannah (white) 2 years 10 months and Henry (black and grey) 2 years enjoying their new ‘freedom’. They have lots of fun and we too."
woof woof woof.petwalk.at
New design, new shop and lots of information about the animal petWALK door can be found on our new website. We welcome your suggestions, anything goes, what does not like and what might not yet work entirely.
We hope you enjoy and look forward to your feedback.
Passive House (British Columbia, CA)
Location: Living Room
Mounting Type: Fully Integrated Wall-Installation
Requirements: Air Tightness and Insulation
Customer Comment:
"
In building our 'dream' home we knew that we needed a dog door - an automatic door would be nice for our dogs and for security.
With not many options available to us we settled on a door that we thought we could camouflage subtly with the surrounding architecture.
However....this door was just not effective in keeping the winter weather and storms out, as you can see in the picture below. Not good. The dog door is near our kitchen table so sitting by it in winter proved to be unpleasant.
Alas, a search for a dog door that was designed to keep the weather out. We came across the Petwalk door designed to meet Passive Home requirements.
Thats more like it... a door that actually has some weatherstripping - not one but 3 levels to seal plus being insulated.
I also loved the fact that we could 'hide' the door on the outside with our exterior cladding - looks seamless on the outside and good for security. The door is also very quiet in operation.
We love it! and our dogs love it! No more snow inside. In fact when it is cold outside, and you put your hand on the door it does not feel cold nor can you feel any cold air escaping to inside - not like the other door.
"
wuff wuff wuff.petWALK.at
Neues Design, neuer Shop und viele Informationen rund um die petWALK Tiertüre finden Sie auf unserer neuen Website. Wir freuen uns über Ihre Anregungen, was gefällt, was nicht gefällt und was vielleicht noch nicht so ganz funktioniert.
Wir hoffen es gefällt und freuen uns auf Ihr Feedback.
Driving rain resistance according to EN 12208 - 1999–11
ClassE1050
RFID (Animal ID)
Implanted or external Transponders per ISO standards 11784 / 11785 FDX-B
Range with implanted transponders
0-15cm
Range with collar tag transponders
15-30cm
Burglary resistance
Through a contactless access control system
Through a built-in alarm system
Through a contactless access control system
By integrating into existing alarm systems
Through a contactless access control system
By using WK2 certified hardware and high-strength materials
Climatic conditions
Inside
0°C to +40°C
Outside
-40°C to + 85°C
Power supply
Input voltage
90-264V AC
Output voltage
24V DC
Base load
0,2A
Cable length
1,8m
Accu Pack
12V 0,8A
Clock backup battery
CR3220
Sensors
Capacitive movement sensors
PIR movement sensors
Light sensor
Rain sensor (optional)
IR-Receiver
Reed contact
Secondary Reed contact (optional for door assably)
Interfaces
Output for external alarm systems
Serial interface
Installation
Easy installation: Everywhere!
You have the freedom to choose where you want to install the door.
Whether exterior walls, doors or insulated glazing: petWALK will fit!
Installation - a piece of cake!
All you need to install a petWALK door is a hole in the right size and an outlet within a radius of 2m.
Put one part of the body into the hole on the outside and attach the other part from the inside with a few screws. Plug in the AC adapter. Done!
The Best Installation Location
During installation you can choose freely, in which material and at which location you want to mount the animal door.
For each installation location we have put together some useful information. Just klick on the desired type in the menu.
If possible, we recommend choosing a weather proof and quiet spot that is easily accessible for your animals and where you do not con- stantly pass by.
Left or Right - you name it!
Of course, you can not only choose between different sizes bot also the opening direction of the petWALK door.
petWALK doors always open inwards. When you place an order, the opening direction of the door leaf, where the hinges are to be stuck, can be chosen to match your personal living situation. You can choose between a left and a right-hinged door.
A right-hinged door always opens inwards to the right side and a left-hinged door accordingly always opens inwards toward the left side.
Installing the petWALK pet door into a movable component such as a door leaf, we recommend choosing the same hinge side.
Thick or thin - petWALK matches everywhere!
The petWALK pet door is designed for an easy mounting process into different components. Basically, two different types of installation are available.
"Enlcosing" Installation
This type is the simplest and quickest method to install the petWALK pet door into a component. It is used, when the door is retrofitted into a component with plain surface (laminated glass, doors with flat surfaces).
You only need to create an aperture of the appropriate size in this structure, which can then be enclosed by the pet door. It is pressed on both sides towards the glazing or the door panel by using the supplied screws.
Then it is fixed and self-retaining. A circumferential seal on both frames creates an air- and watertight connection. For thin components (less than 5 cm), a spacer (included) is required to clamp the door.
Installation into masonry can be performed in a similar way. Here, the petWALK pet door is braced directly to the exterior wall or between the inner wall and a mounting frame. A tunnel bridges the space inside the wall between the outer and the inner frame.
Integration into a component
If you plan to integrate the pet door into masonry, you may want to choose this type of installation. The advantage of this kind of mounting is that the insulation of your home can be pulled over the outer frame. Due to the installation of a completely covered frame you can achieve best thermal insulation values.
Basically, you can bolt the petWALK pet door directly to the outer wall at the desired position using suitable building cleats. But you can also use spacers (available as an accessory) as a mounting frame, both inside and outside. You can fix it onto the masonry with cleats. If the frame is bolted directly to the wall by outriggers, the second part can be pressed on to the mounting frame by using screws.
Otherwise a sub frame, which will is mounted upfront within the construction. This can be used as abutment for either the inner and outer frame. The advantage of this method is a clean separation between building works and mounting of the pet door and an easier connection to specific structural elements like airtight membranes.
Please choose the desired installation type in the menu for more information.
Building standard compliant installation? Sure!!
petWALK is designed for passive and low energy buildings and can be connected air tight building envelope without thermal bridges.
petWALK pet doors are are tested against European standards for windows and meet the highest levels for airtightness, draining water tightness, climate and wind resistance.
For the most common types of installation, there are also connection details and thermal bridge calculations available in our downloads area
Door System
Modular, flexible, customizable.
petWALK pet doors are not only the world's first professional entry doors that have been designed specifically for pets, but they can also be flexibly adapted to your personal needs and structural conditions.
Door Module
The petWALK door module is the heart of your personal pet door solution and includes already all features. It is available in two different sizes, with different door stops and for all possible installation situations.
Basically, the construction consists of two frames – the outer frame 1 (also called "outer flange") and the inner frame 2 („inner flange“), which are pressed towards each other and fixed directly onto the component by threaded rods 3 .
On the outer flange the engines, the automatic door leaf, locking mechanisms, hardware and electronics are mounted. The inner flange includes a display, electronics and the IR sensor for the remote control.
Decorative covers 4 (for example acrylic glass or HPL material) can be mounted on the outer parts of both flanges.
Extensions
If the clamped component is very narrow (< 5cm), a so-called spacer 5 is needed to establish the required distance for clamping. In case a bigger distance needs to be bridged, for instance when installing into a wall a suitable tunnel 6 will connect the outer to the inner frame.
If very high insulation values are desired, an additional insulation frame 7 can be attached or the outer frame can be covered by wall insulation material when installing your pet door into masonry.